搭建自己的第一个Hexo博客网站
1、下载相关需要的软件
在下载之前,先注册一个Github账号
2、绑定github仓库
2.1 创建SSH私钥
打开Git Bash(在下载完Git后,点开开始页面即可看到下面的三个图标)
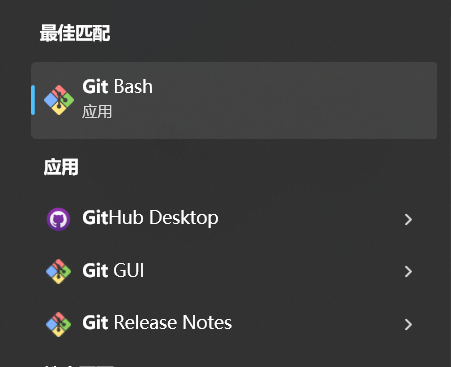
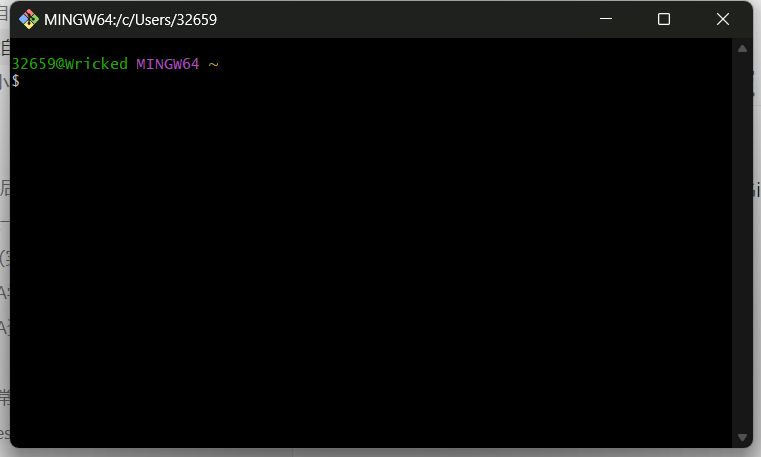
打开Git Bash后,可看到下面的界面
输入一下代码绑定你的Github用户以及邮箱(我之前操作过了,我就不操作了)
1
2
git config --global user.name "你的Github用户名"
git config --global user.email "你的邮箱"然后使用一下代码创建SSH私钥
1
2
ssh-keygen -t rsa -C "你的邮箱" ## 输入自己的邮箱
然后一直按enter健即可完成后可以到本地查看产生的SSH密钥
一般在C:\用户\你的用户名\.ssh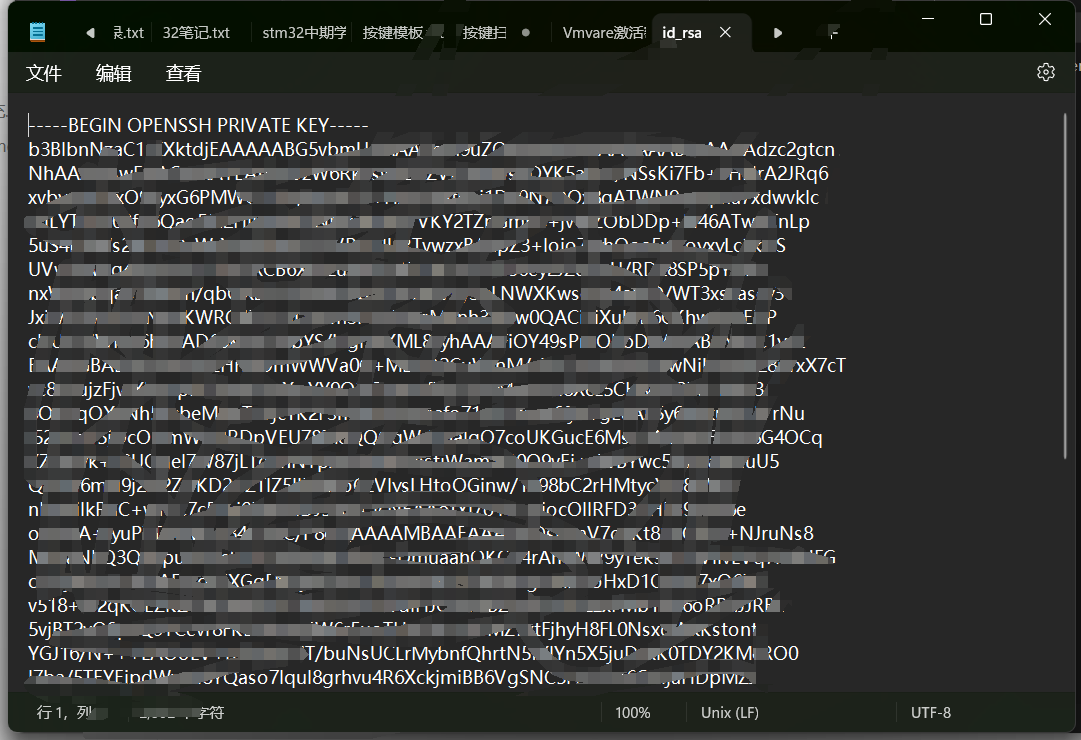
2.2 添加私钥
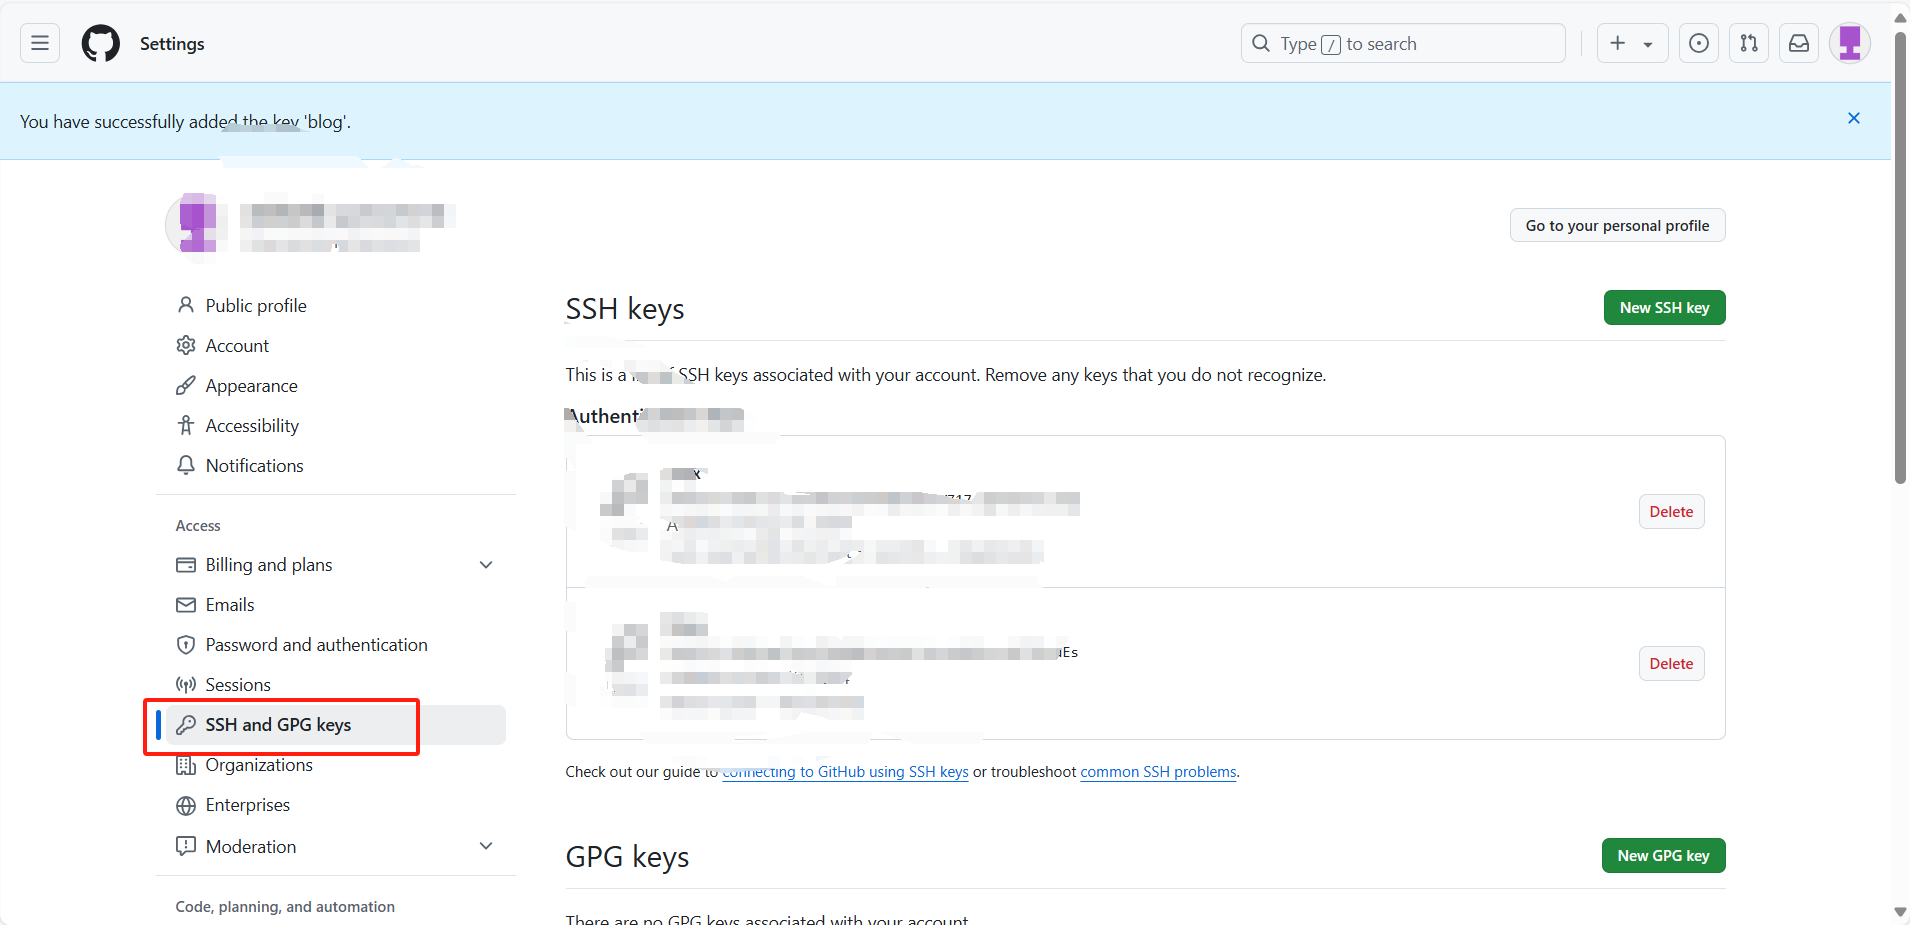
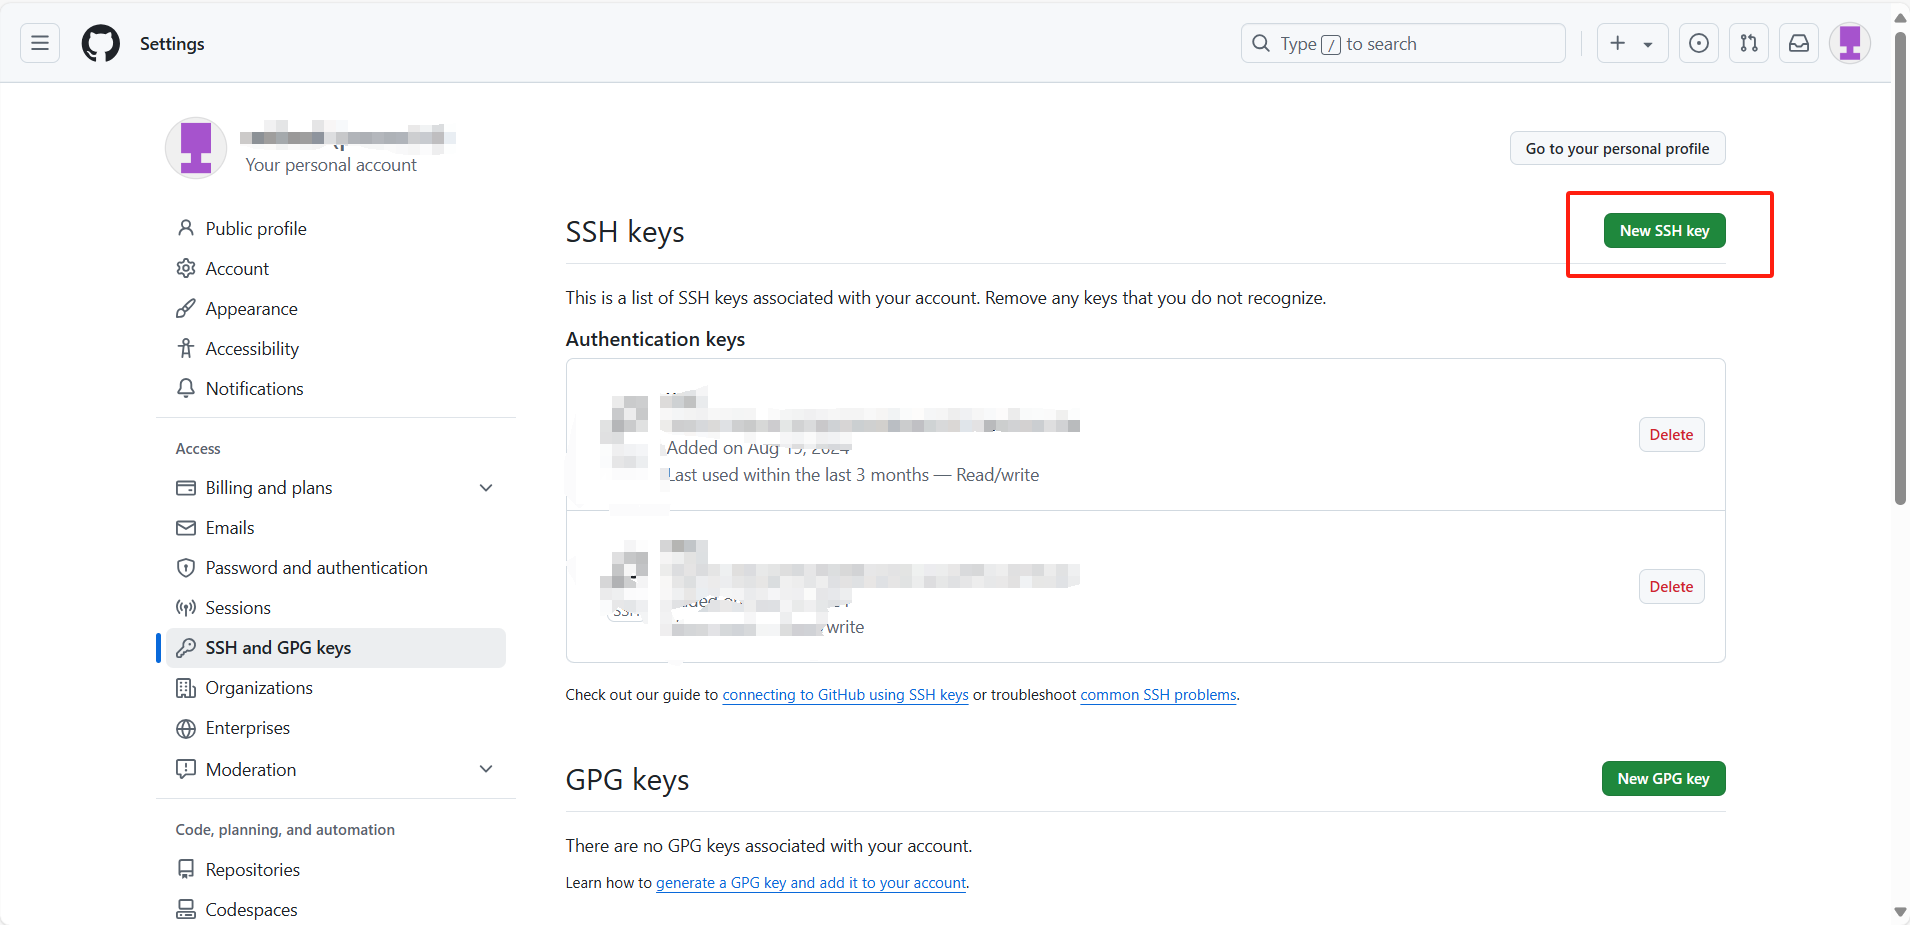
ERROR: 在添加私钥时,如出现Key is invalid. You must supply a key in OpenSSH public key format报错则使用id_rsa.pub内的私钥进行绑定
2.3 创建连接Github仓库
2.3.1 在.ssh文件夹中创建一个config文件

2.3.2 在config文件中输入一下内容
1 | Host github.com |
2.3.3 测试来连接ssh库
1 | ssh git@github.com |
3、安装hexo
3.1 更改nmp镜像源
1 | `进入cmd` |
注意此处的镜像源有些博客是使用的带有taobao的网址,需要使用这个新的网址,否则会出现证书的报错
3.2 创建一个文件夹 用于hexo初始化
使用nmp安装hexo
1 | nmp install -g hexo-cli |
3.3 初始化hexo
1 | hexo init |
但是这一步通常需要科学上网工具,并且使用了科学上网工具也不一定能解决整个问题
这里有一个办法可以有效地解决这个问题 并且不需要科学上网工具
3.3.1 出现ERROR

打开Git Bash
进入你设置好的博客的文件夹
运行以下代码
npx hexo init myblog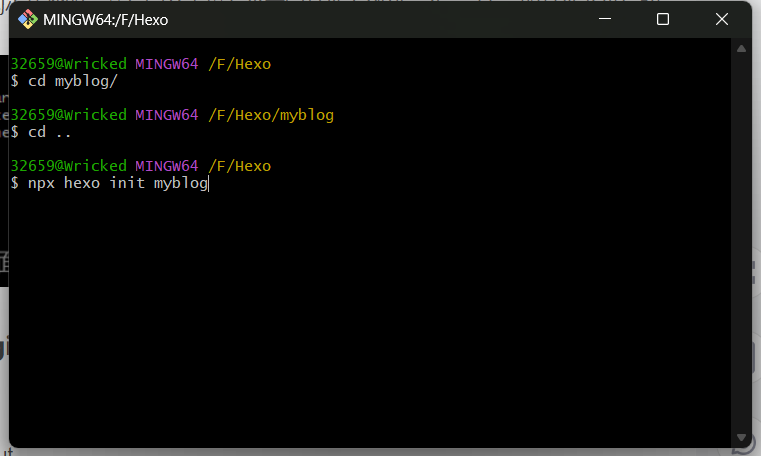
注意文件必须是空的不然会报错 运行完以上代码 出现 start blogging with hexo! 就成功了
3.4 部署到github上
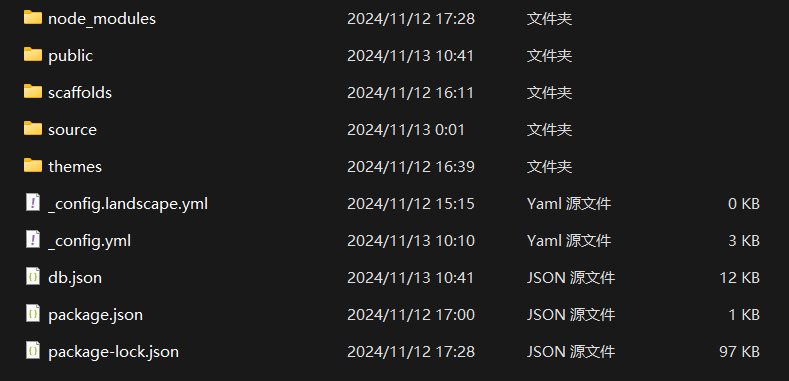
刚刚初始化玩的文件夹内容如下图所示:
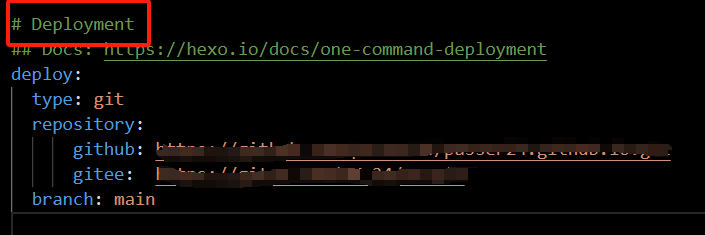
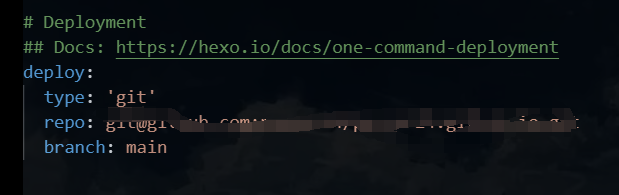
打开_config.yml文件,找到Deployment
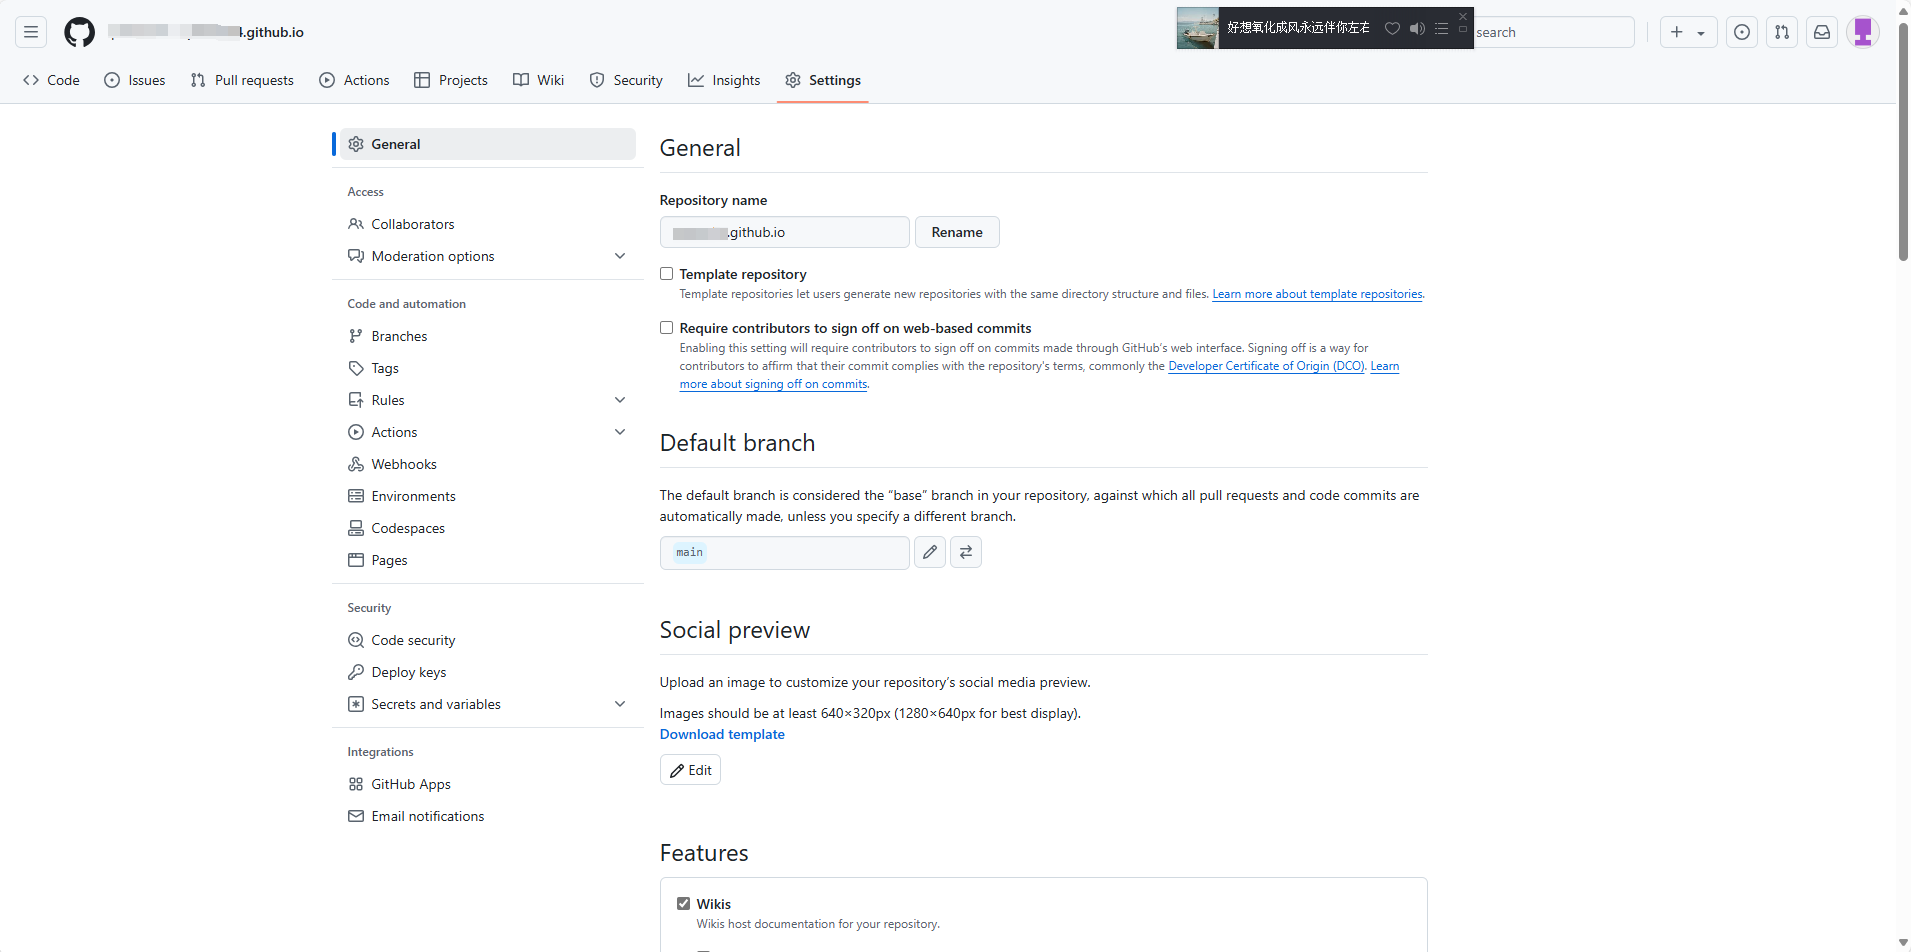
在GitHub中创建一个仓库s,复制仓房的ssh链接
命名必须是你的用户名字.github.io
点击code
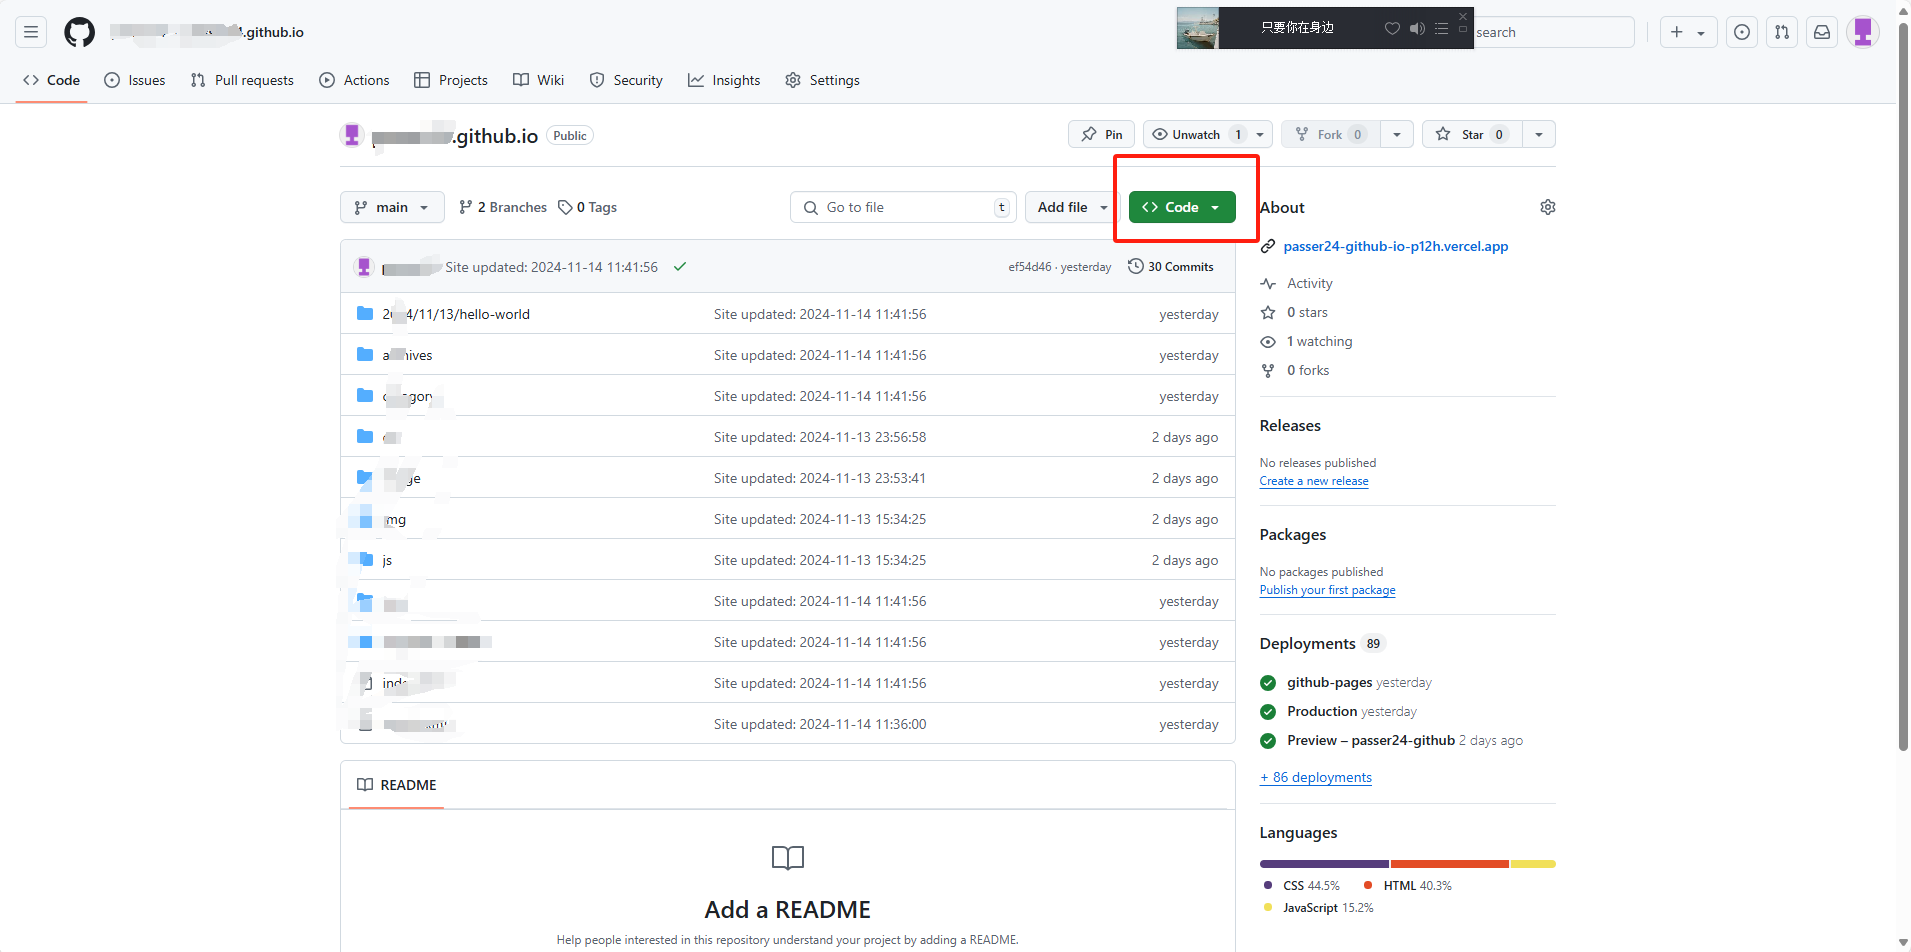
复制SSH链接(结果测试,使用SSH更加稳定相比于HTTPS)

然后将链接放到_config.yml的Deployment下
在博客的文件夹下打开Git Bash,并输入
hexo g -d即可完成部署,看到如下图示,即为成功上传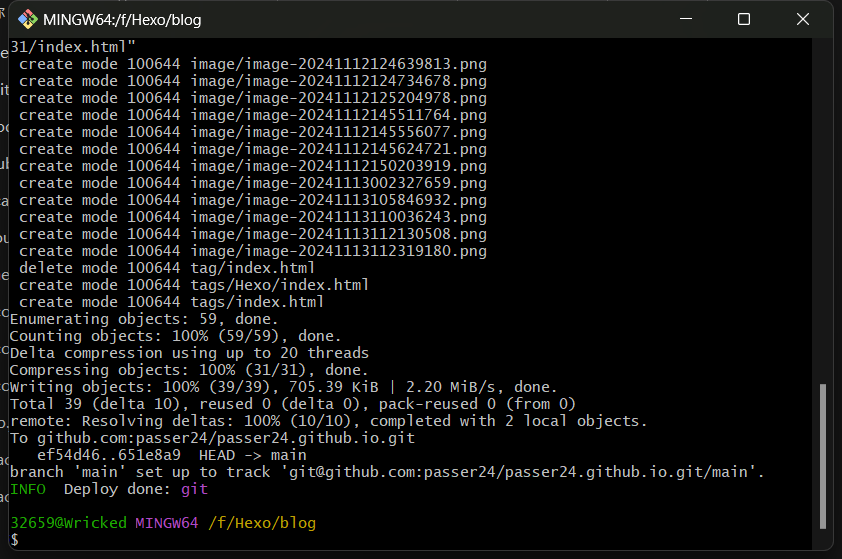
登录自己的网站也就是(github用户名).github.io,可以发现已经更新博客内容